How to run a gas line to an Eichler kitchen island
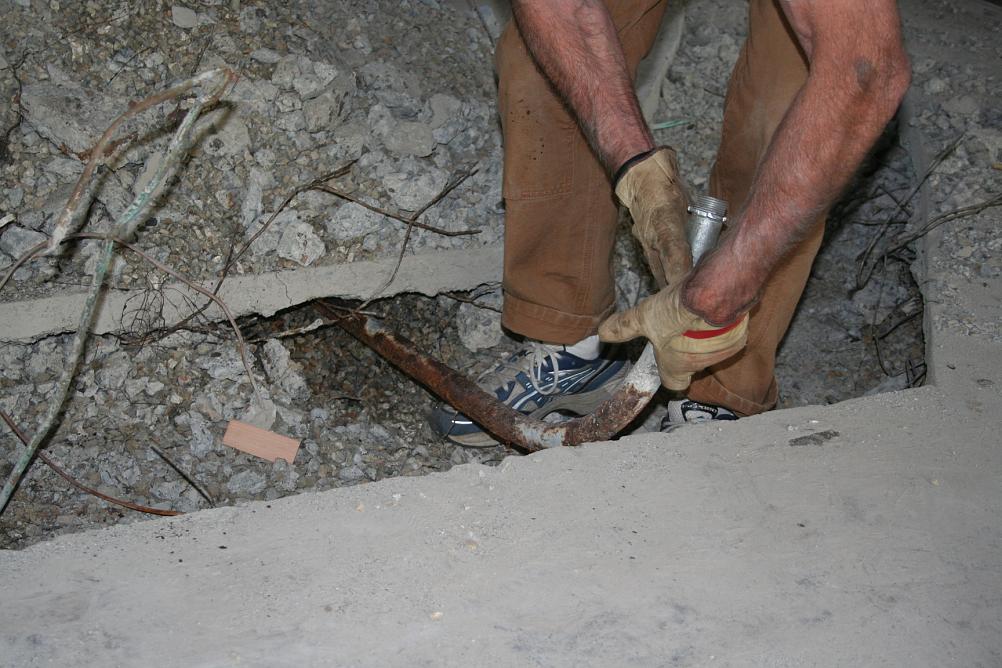
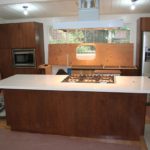
We wanted to install a gas range in our new island cabinet that was custom built to the same size and location of the original Eichler island.
Be aware that this approach assumes that you have already abandoned the radiant heat system in your slab. We cut a trench through the slab that severed the radiant heat pipes. This also assumes that any existing flooring will be replaced.
1. Determine shortest path from existing gas supply and draw a line on the floor where you’ll need to create your trench. For us it was the corner of the garage where our hot water heater is located. We tied into the existing gas line there.
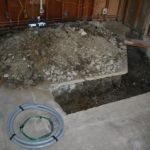
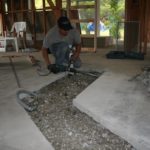
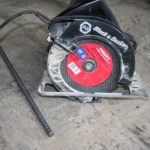
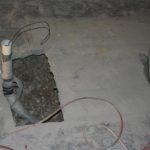
2. Cut a trench in the concrete slab using a concrete saw of some sort. We used a skill saw w/ a concrete blade and squirted water on the blade w/ a plastic bottle that had a pinhole in the lid. This is neccesary to lubricate the blade and it prevents any dust. I does tend to splash a lot of cement mud around though, so tarp off anything you want to keep clean. (I attached a pic of this technique being done for a different project.)
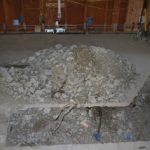
3. Use a slege hammer to break up the concrete after it has been cut and remove it.
4. Dig the trench about 18″ deep. In California, code requires 12″ between the gas line and electrical if they are sharing a trench.
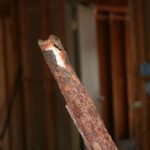
We found that the gravel under the slab goes down deeper than we dug, so we never hit dirt. The original conduit that carried the electrical and phone lines to the island were completely corroded to the point of non existence. Chances are that most Eichlers w/ the original wiring in this location are in similar shape.
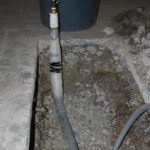
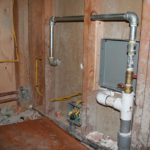
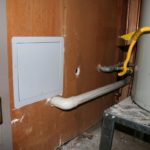
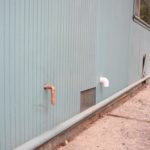
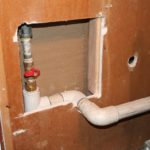
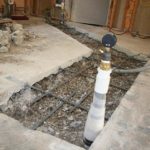
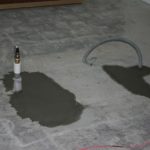
We ran the gas line at the bottom of the trench in an air-tight plastic PVC chase pipe that vents to the exterior of the building to prevent buildup in case of a gas leak.
The gas line itself is a flexible pipe that can be pulled out of the chase if it needs to be replaced. It has shut off valves on both ends where it enters and exits the chase. Our plumber took care of all the gas line stuff – I recommend this being done by a licensed professional.
The electric line was run in a flexible plastic pipe that is UL rated for direct contact with concrete. This was laid close to the top of the trench to obtain our 12″ separation from the gas line per code.
The exact locations where the gas and electric lines should emerge under the new island took a lot of thought and planning and we ended up having to break some of the new concrete and move them in the end, so be sure you put some thought into this before you fill in the trench and pour your concrete.
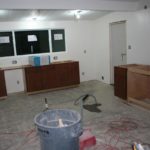
In our case, the location of the hood vent was what determined the final location of the island. We have a beam that runs directly through where the hood vent pipe would go if we spaced the island 45″ from the sink-side cabinets so we ended up running the vent pipe directly beside it and ended up w/ something like 44″ between the cabinets and island.
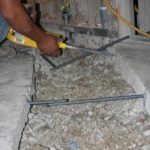
5. Once your gas and electric lines are laid in the trench, fill it back in w/ the gravel and drill holes in the cut edges of the slab and fit rebar into them and secure it w/ cement epoxy.
Using rebar will ensure that the new cement won’t crack and fall down into the trench if the gravel underneath it settles over time.
6. Once the rebar is in place, mix up some concrete in a wheelbarrow, pour it in, and trowel smooth.
**Note: always consult with a licensed contractor and check with your local building inspector when doing gas and electrical work – these are hands down the most dangerous systems in your home.


Great pics – we are thinking about drilling into our slab in the garage to fix some shelving/racks to the floor. Do you know if the garage has any radiant lines in the floor? Currently our system is not in use but we would like to keep it intact if possible. We aren’t sure how to turn it on so at the moment it is tricky to use the infrared thermo.
Hi Brian,
I couldn’t say for sure, but I would guess that there is no radiant heat in the garage slab. I would check around with your neighbors (with working radiant) for a second opinion though.
Cheers
Steve
Will do, thanks!
Btw, we are in Terra Linda off Golden Hinde so likely not far away. 🙂
Brian, great to ‘meet’ you! We have a bunch of friends off of Golden Hinde so we are definitely neighbors!
Steve- just found this online and it is very helpful as we are doing the exact same thing (but with radiant heat still functioning, so a little more tricky for sure). Could you please give me the name of the plumber you used for this job?
Thanks!
A friend of ours was able to keep the radiant heat working by carving a shallow channel in the top of their slab and embedding their gas line in that. not sure if it’s up to code tho.. apparently the radiant matrix doesn’t start until a few inches down in the slab.. Our plumber is Anthony Zamlich.
Thank you! We rented a “thermal Imaging camera” and could see where the radiant pipes where located, so we will be able to dig deep and stay up to code 🙂
Sounds like a high-tech operation, very cool!
Sorry- me again… Does Anthony work for himself or a company? We would like to get a quote from him, but I can’t find his contact info…
Steve- Just a quick question. Which pipe did you use for gas, was it CSST?
Thanks!