How To Build a Simple Eichler Atrium Cover
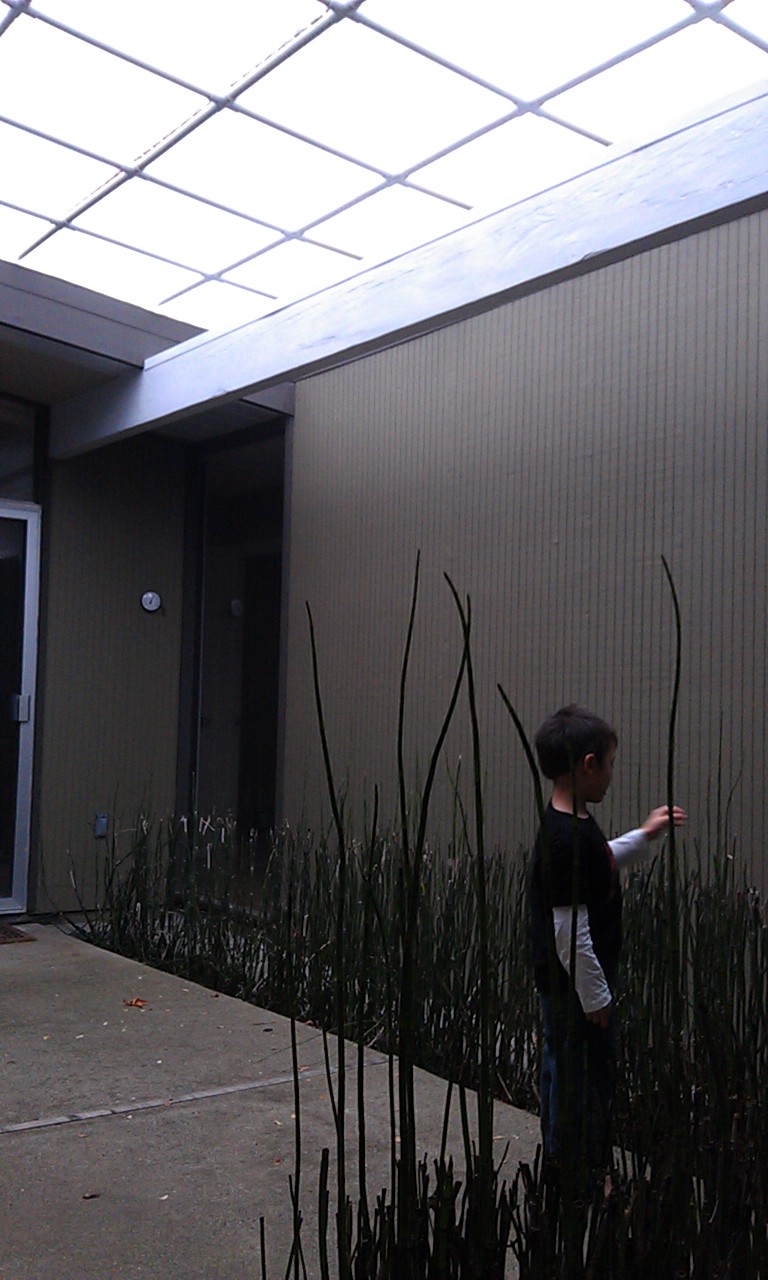
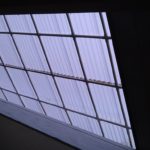
We’ve been in our Atrium Eichler for 4 years now and after watching heating bill spike up during the cold months each year, we decided to see what would happen if we covered our Atrium this year. We found this blog post from another Eichler owner who invented a simple and relatively low cost approach to doing this using 1″ PVC pipe and corrugated roofing panels. Since this approach had already been proven effective, we decided to follow the pretty much the exact same method.
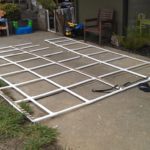
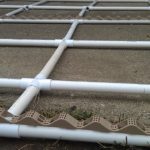
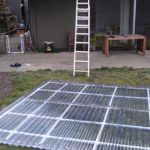
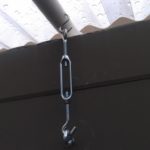
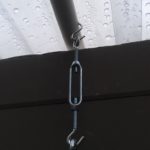
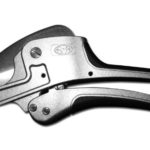
The only things we did differently was put wooden dowels inside the 3 lengths of PVC that we fastened the panels to, and we used turnbuckles and hooks to fasten the cover to the roof. I didn’t take a lot of pictures along the way, but managed to snap a few during the final stages of the process. This tool is a must-have for cutting PVC (pictured below) – you can cut PVC with a saw, but you’d be wasting your time and ending up w/ an inferior result.
You’ll also need one small can of PVC Cement. I have never used the primer that you can get – seems to work fine without it. Get the clear plastic 2’x12′ corrugated roof panels – 7 of them fit perfectly for us, but you’ll have to measure. You will need the special screws that are used for the plastic roof panels – they have hex heads and come with rubber washers on them to seal against rain. There is also the wavy roofing support strips you can see it in the pictures below.
In the end, I spent around $350 on supplies and spent around 6 hours building and installing it. A couple of tips:
1.) Measure the total distance in your grid and divide by the number of pipe sections you’ll be using to span in that direction, and don’t forget to include the 1″ or so that is added by each of your fittings. I ended up cutting a bunch of 2′ sections, and then having to cut the last pipe in each direction down to fit my total span – it worked fine, but isn’t perfect.
2.) Orient each pipe and fitting so that the writing printed on them is facing upwards so that it’s not visible from below once the cover is in place. This will make it a little less obvious that it’s PVC pipe from home depot.
3.) Get the heavy-duty, thick walled type (450psi?) of PVC – they have a flimsy thin-walled variety right next to the heavy duty one that I ended up bringing home without noticing until I made the first cut, then had to bring it all back to HD and exchange for the thicker kind which is much more rigid.
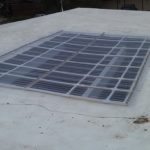
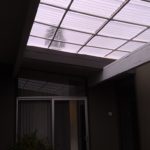
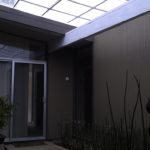
The result is alarming – the atrium rarely dips below 60 degrees anymore! It’s scary to realize how much we are heating up that space with our huge windows. The house feels warmer and the heater runs a lot less. It will be interesting to compare our utility bills to last year at the end of the winter. Another positive effect is that we have a new ‘room’ in our house that the kids can play in during the rainy months. When the weather warms up again, I plan to simply drag the cover onto the portion of roof right next to the atrium and leave it there until the next year (not visible from street). I’ll have to figure out a way to secure it against wind in it’s storage location.


Hi, I came across your site thinking the same thing to cover the atrium for the winter. Can I ask a few questions regarding this project? Thanks.
Absolutely – ask away. 🙂
So Cool!
We are purchasing a house with an atrium. Ours currently has a similar-ish cover but with some screens. I’m wondering how hot yours gets in summer without any ventilation? Also do you know how large your atrium opening is? Thanks.
Hi Kristen
I’ve since replaced the atrium cover with a wood frame version. I need to update this post.. We have the new cover on wheels so it can be rolled back during the summer. We only cover it during the winter to help keep the heating costs down. It would be too hot during summer. Our opening is about 7′ x 10′. Here’s how it looks now.